When an event is triggered on an element in the DOM tree, the event-handling mechanism of the browser checks if a handler has been established for that particular event on that element and, if so, invokes it. But that’s hardly the end of the story.
After the target element has had its chance to handle the event, the event model checks with the parent of that element to see if it has a handler for the event type, and if so, it’s also invoked. At this point its parent is checked, then its parent, then its parent, and on and on, all the way up to the top of the DOM tree. Because the event handling propagates upward like the bubbles in a champagne flute (assuming you view the DOM tree with its root at the top), this process is termed event bubbling.
Let’s modify the example from listing 6.1 so that you can see this process in action. Consider the code in the next listing, which can be found in the file lesson-6/dom.0.propagation.html.
Listing 6.2. Events propagate from the point of origin to the top of the DOM
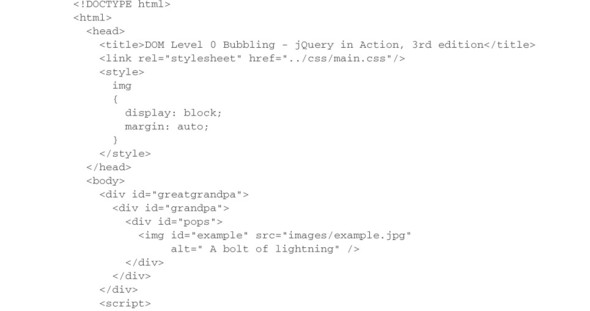
You do a lot of interesting things in the changes to this example. First you remove the previous handling of the mouseover event so that you can concentrate on the click event. You also wrap the image element that will serve as the target for your event experiment into three nested div elements, merely to place the image element artificially deeper within the DOM hierarchy. You also give almost every element in the page a specific ID.
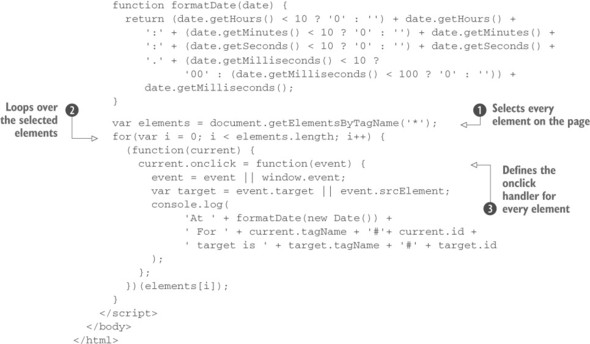
Inside the <script> tag, you use JavaScript’s getElementsByTagName() method and the Universal selector to retrieve all the elements on the page ![]() . Then, using a for loop, you iterate over each of them
. Then, using a for loop, you iterate over each of them ![]() and attach a handler to react to a click event
and attach a handler to react to a click event ![]() . For each matched element, you create a closure (please read the section on closures in the appendix if closures are a subject that gives you heartburn) to record its instance in the local variable current. Inside the handler you can’t refer to elements[i] because at the time the handler will be executed, the value of the index i is outside the range of the array(-like) object.
. For each matched element, you create a closure (please read the section on closures in the appendix if closures are a subject that gives you heartburn) to record its instance in the local variable current. Inside the handler you can’t refer to elements[i] because at the time the handler will be executed, the value of the index i is outside the range of the array(-like) object.
Note
The method getElementsByTagName() doesn’t return an actual array but an HTMLCollection. Objects like this are called array-like because they allow you to reference their elements using an index, and they also have a length property but don’t implement array methods like push() and join().
The handler employs the browser-dependent tricks that we discussed in the previous section to locate the Event instance and identify the event target, and then it prints a message on the console. This message is another interesting part of this example. It displays the tag name and the ID of the current element (if any), putting closures to work, followed by the ID of the target. By doing so, each message that’s logged to the console displays the information about the current element of the bubble process, as well as the target element that started the whole shebang.
Loading the page (located in the file lesson-6/dom.0.propagation.html) and clicking the image results in the display shown in figure 6.2.
Figure 6.2. The console messages clearly show the propagation of the event as it bubbles up the DOM tree from the target element to the tree root.
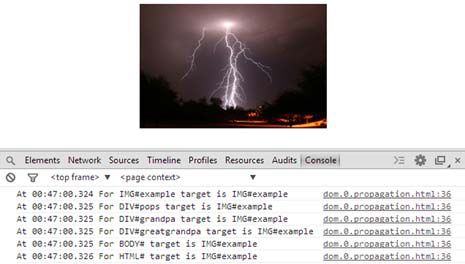
This clearly illustrates that when the event is fired, it’s delivered first to the target element and then to each of its ancestors in turn, all the way up to the root html element.
This is a powerful ability because it allows you to establish handlers on elements at any level to manage events occurring on their descendants. Consider as an example a handler on a form element that reacts to any change event on its child elements to effect dynamic changes to the display based on the elements’ new values.
But what if you don’t want the event to propagate? Can you stop it?
Leave a Reply